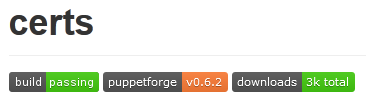
I was looking at the puppet module zack/r10k’s github repo the other day and I noticed these fancy shields all over it. They include the version and number of downloads from the Puppet Forge and a label that says build | passing. This comes from Travis CI. By adding the shield syntax to your repository’s README.md file, you can have this shield as well. Here’s the syntax, substitute your github user and repo names where appropriate (unless you want to display the build status of my certs module for some reason) and use travis-ci.com for private repos:
[](https://travis-ci.org/rnelson0/puppet-certs)
You should add this in a new branch, of course, along with any other shields you want to use. There are plenty available at Shields.io! Before you create a PR, however, there are two other changes you need to make. First, an edit to your .travis.yml:
branches:
  only:
    - master
This tells Travis CI to only perform builds against the master branch. You can add additional branches if you want, of course, and you’d change your shield’s ?branch=master text to the other branch name. The next step is to change your Travis CI settings for the repo:
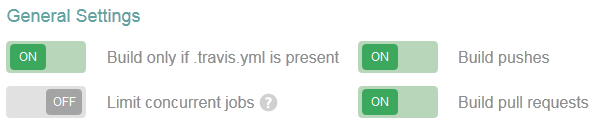
Build pull requests was probably already enabled, so that when you created a PR Travis CI would test it, but Build pushes may have been disabled. With Build pushes enabled and the only setting of master, any push to the master branch – which includes merging a PR into the master branch – will kick off a Travis CI build. You can now go ahead and create your PR and merge your changes. The shield will initially say unknown for the status. If you look in Travis CI, you’ll see a build start for the master branch, and shortly thereafter it will complete. Refresh the view of your repo’s main page or README.md and you should see the shield update to the status of the latest build!
If you did things out of order, like enabling Build pushes after the PR is merged, will still have an unknown status. You can either hold tight until your next PR/merge or do a simple change on master. An easy change is to edit the README.md through github.com and add a blank line at the end. When you hit save, GitHub creates a new commit, which again counts as a push, and therefore Travis CI starts doing a build. Voila!
